
Creating the Basic Strip
Although there are many ways to create a hairpin lace strip (also referred to as braid), most hairpin lace patterns call for the basic strip. Where projects usually differ is in the methods used to join the strips (see Hairpin Lace Tutorial Home Page for some joining techniques). The basic strip is made on the loom by working single crochet stitches through the front thread of the uppermost loop on the loom.
See our video, as well as detailed still photos on how to make the basic strip.
 |
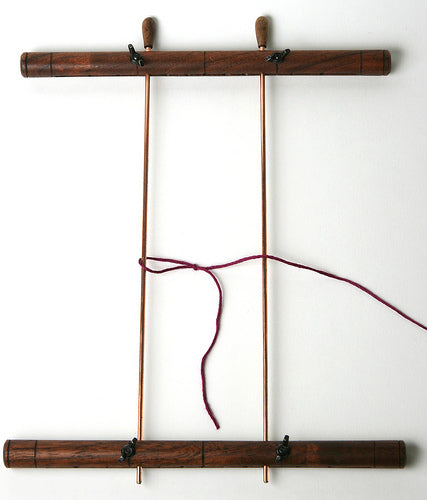
Set up the loom by setting the prongs to the width for which the pattern calls. The width settings of hairpin lace looms vary between various manufacturers. (Check out the ultra-configurable handmade walnut loom made by AGeary Woodworks - it can be set up to 6" wide - great for showcasing the beauty of modern yarns!). Before working, make sure to orient the loom so that the frame side that can be slid off the most easily (for slipping off the work) is held towards the bottom. |
 |
Secure yarn with a slip knot to one prong of the hairpin lace loom. Wrap yarn from front to back over opposite prong and bring yarn to back of loom. The side of the loom to which you attach the loop is the side that you will work with the crochet hook for the entire strip. Most right-handers find it easier to attach the loop to the left-side prong, while left-handers prefer the right. Golden Rule #1: The side to which your starting loop was attached is your "home prong". When working the strip, consistently work the upper loop on the "home prong" |
 |
(At this point, you should either attach guide lines to your work, or mark the starting loop so that you will later be able to identify the starting edge of your strip) Insert hook from bottom to top through the front thread of the loop on the loom. |
 |
Pull through a loop then ch 1. This completes the first stitch of the strip: the first "setup" stitch of the strip is different than all the rest of the stitches of the braid. |
 |
Prepare to turn the loom by twisting hook so that handle side faces up and insert the handle end of the hook through the loom above the work. Keep the loop on the hook. |
 |
Grab hook from opposite side of loom, still keeping the loop on the hook. |
 |
Flip the loom allow yarn to wrap around loom as you turn (in the photo, side B has turned "towards the camera" and flipped positions with side A). You should be holding the hook in the front with one hand and keeping tension on the yarn in the back with the other. Golden Rule #2: When working the strip, consistently flip the loom so that your "non-home prong" flips toward your home prong, passing towards you while your home prong passes behind. |
 |
Insert hook under thread of topmost loop on "home prong", pull through a loop, then pull through another loop (single crochet). |
 |
|
 |
Flip loom. Continue doing sc in the uppermost loop of the "home prong" then flipping the loom. Most projects will require that you create a strip with more loops than can fit on the loom so you will need to move loops off of the loom as you work. When you feel you no longer have enough room to work comfortably, you will need to remove most of the loops from the frame. Please see our discussion about Managing Long Strips as You Work to learn about working with longer hairpin lace loops. Tip: Keep the work as low as possible on the loom in order to allow as much room as possible to pass the crochet hook from front to back. Maintain tension on the yarn with your non-hook hand to control placement of the loops on the loom. |
 |
Continue working until desired strip length is attained. Tie off tip: To neaten up your last loops, insert your hook from top to bottom through the back thread of the loop on the prong opposite to the one just worked. Yarn over and pull loop through the loop on the hook. Now tie off. |